How to Change Computer Name in Windows 10
The biggest advantage of Windows over Mac is personalization and you can still change your PC name. Before Windows 10, changing your PC name was complicated but now you can easily change your PC name from System Properties or Windows 10 Settings.
Method 1: Change Computer Name in Windows 10 Settings
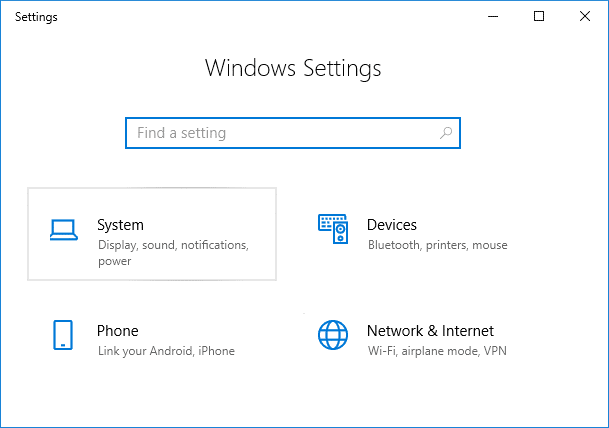
Press Windows Key + I to open Settings then click on System.
From the left-hand side menu select About.
Now in the right window pane click on “Rename this PC” under Device specifications.
The “Rename your PC” dialog box will appear, simply type in the name you want for your PC and click Next.
Note: You current PC name will be displayed in the above screen. 5. Once your new computer name is set, simply click on “Restart now” to save changes. Note: If you are doing some important work then you could easily click “Restart later”. This is How to Change Computer Name in Windows 10 without using any third party tools, but if you still not able to change your PC name then follow the next method.
Method 2: Change Computer Name from Command Prompt
Open Command Prompt. The user can perform this step by searching for ‘cmd’ and then press Enter.
Type the below command into cmd and hit Enter: Note: Replace New_Name with the actual name you want to use for your PC.
Once the command successfully executes, simply restart your PC to save changes. This is How to Change Computer Name in Windows 10 using Command Prompt, but if you find this method too technical then follow the next method.
Method 3: Change Computer Name in System Properties
Right-click on This PC or My Computer then select Properties.
Now System Information will be displayed on the next window that open. From the left-hand side of this window click on “Advanced system settings“.
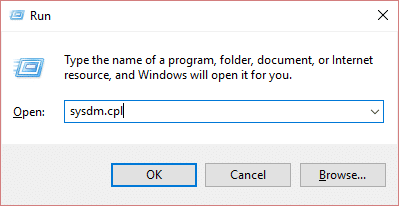
Note: You could also access Advanced system settings via Run, simply Press Windows Key + R then type sysdm.cpl and hit Enter.
Make sure to switch to Computer Name tab then click on “Change“.
Next, under “Computer name” field type in the new name you want for your PC and click OK.
Close everything then reboot your PC to save changes. Recommended: How to Zip or Unzip Files and Folders in Windows 10 That’s it you have successfully learned How to Change Computer Name in Windows 10 but if you still have any queries regarding this post then feel free to ask them in the comment’s section.